Using Symantec Backup Exec with the Netgear ReadyNAS –

Symantec Backup Exec with the Netgear ReadyNAS
Found this nice post on Netgear website. Symantec Backup Exec with the Netgear ReadyNAS / Implementing Symantec backup Exec 12. Hope it will help you to do the same in your enviroment.
The following is a pictorial how-to on getting Symantec Backup Exec™ working with the ReadyNAS. This how-to is based on Backup Exec 12.5, but you can use it as a general reference for other versions as well.
First we will define a Backup-to-Disk folder as the backup share on the ReadyNAS, then follow up with a custom backup job using that folder as the destination.
At any point, you can click on a screenshot to view a larger version of it.
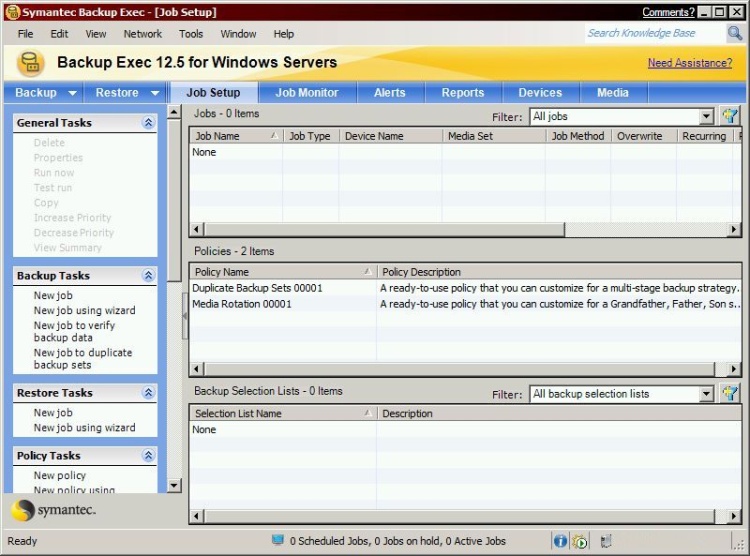
Step 1 – Launch Backup Exec
Step 2 – Enable selection of user shares

Step 3 – Click on the Devices tab

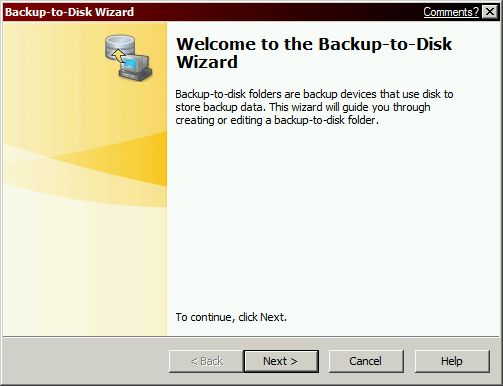
Step 4 – Create a new Backup-to-Disk folder using the Wizard


Step 5 – Verify Backup-to-Disk folder in the Devices list

Step 6 – Create a backup job with custom settings


Step 7 – Start the backup job


