
ELASTIX 4 INSTALLATION Step by Step – 01
Today i’ll take you through on how to do Elastix 4 Installation step by step. I’ve been doing tutorial on Avaya from last couple of months. So this time decided to take a look at alternative opportunities in the market and learn different PBX.
Elastix 4 Installation Step by Step
This article will cover Elastix Installation Step by Step and will cover as much as i could. you need following items in place before you can start your Lab and Demo installation
- Virtualbox 5 or VMware Workstation
- Elastix 4 ISO image which you can download from here (Download)
Create new Virtual Machine
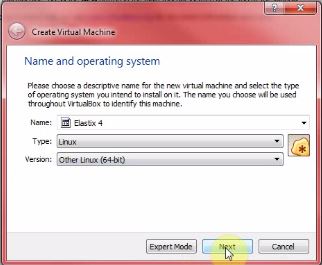
- Launch your virtualbox Manager and Click on New

2. Configure as below
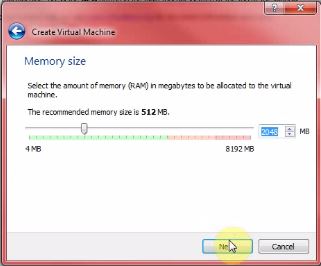
3. Assign 2 GB RAM
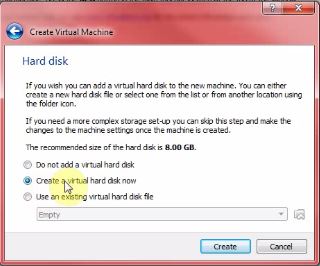
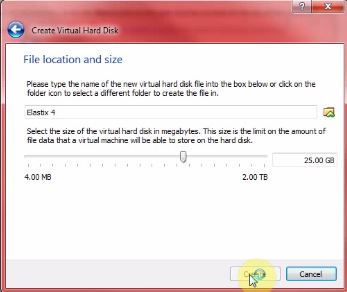
5. Select Create Virtual Disk manager
6. Select Dynamically allocated
7. Assign 25 GB Hard disk
8. Click Create at bottom
Configure Network and mount Elastix ISO image
- Right Click on your virtual machine and click on settings

2. Click on Network from Left and the select Attached to: Bridged Adapter and from below your real or physical
Network card.

3. To mount ISO image click on Storage from left and from right select empty icon and then from the right choose
virtual optical disk file (you need to browns and select the ISO file available in your hard drive)

Want to be an expert in Elastix 4 PBX ? Buy the below guide or Products to learn advance features of Elastix 4 PBX
Install Elastix PBX
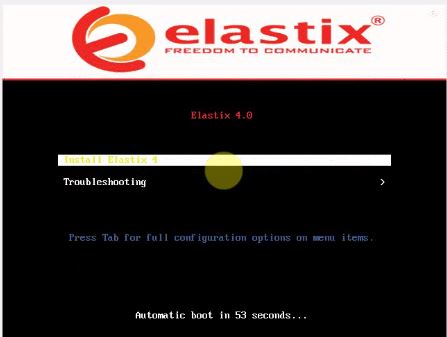
- Once your Virtual Machine is ready as explained above you should start your virtual machine and select Install Elastix 4 and hit enter
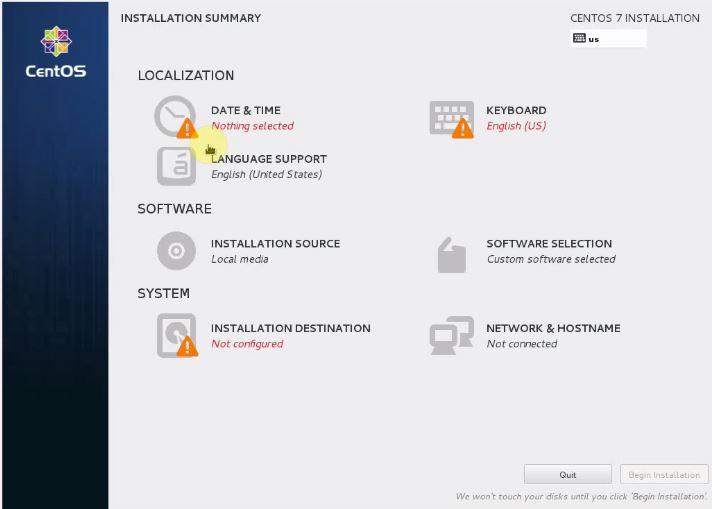
2. Once you reached to Centor Installation Summary you need to configure the following
- Date and Time according to your time zone
- Install Destination (Select the Hard drive we created for this virtual machine)
- Keyboard
- Network and Hostname

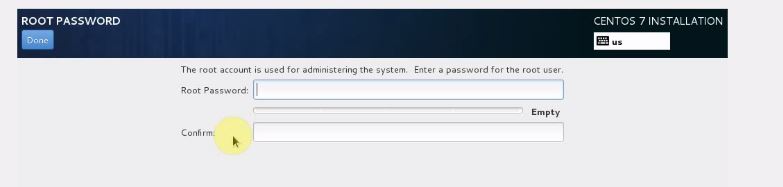
3. Enter your root password
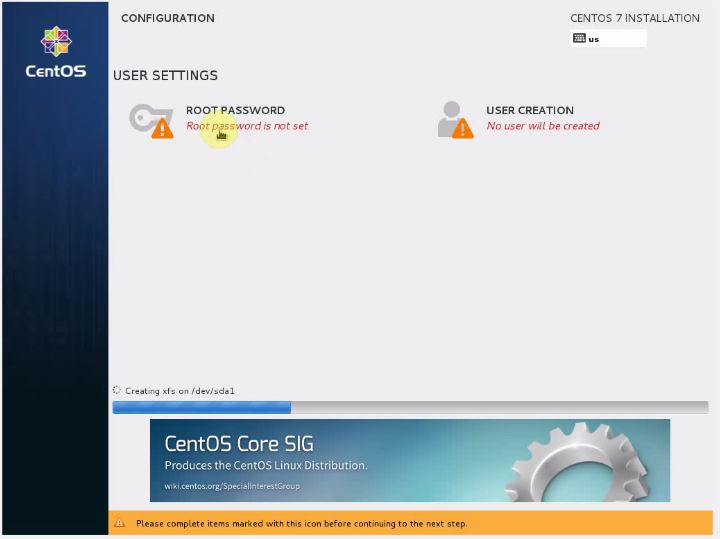
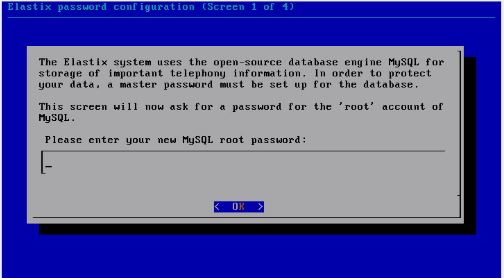
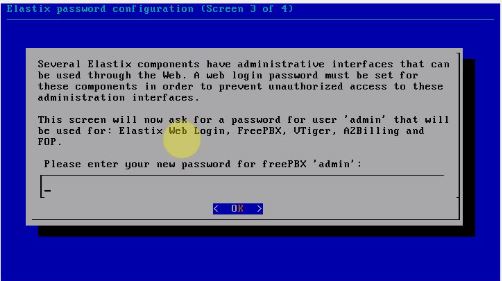
4. Now Enter your SQL root password and admin password (remember admin password will be used to login via
web GUI Page)
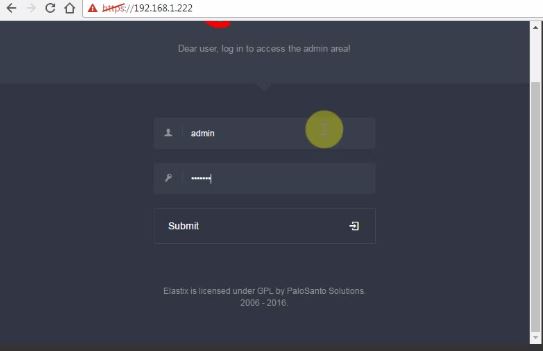
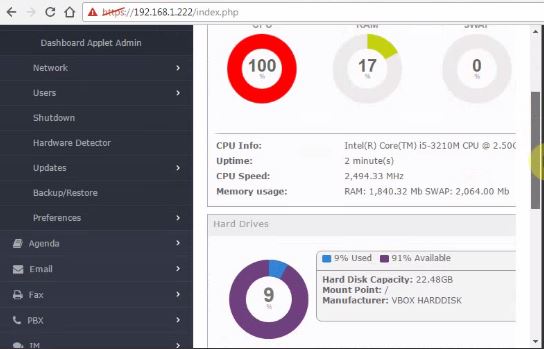
5. Now your virtual machine will reboot one and now should be able to login as root and Web Gui admin
Now this was very easy and quick way to install your Elastix PBX on virtual machine. I hope you have enjoyed the article and if you want to watch this as video tutorial click on below link
Elastix PBX 4 Video Tutorial


hello
I run a server elastix and create two extention on it and install X-Lite & 3CX on client .
when i ring from X-Lite to 3CX it disconnect after 7 second and i have a message on x-Lite call failed : Media Negotiation failed
thank you
Hello Ali
please check your extension profile and codec
halooo, i have succesfully config elastix for call. but not for messaging and video call.. any idea for that?